Garage Electrical Upgrade for Woodshop
Upgrading Our Garage Electric: A Workshop Transformation
When it comes to creating the perfect woodworking workshop, having the right tools is just one part of the equation. Equally important is ensuring that your workspace can safely and efficiently handle the power demands of your equipment. In our case, that meant upgrading our garage’s electrical system by adding a dedicated sub-panel and installing both 110v and 220v circuits through conduit. Here’s how we tackled the project and transformed our garage into a workshop powerhouse.
Why the Upgrade Was Needed
Our existing garage electrical setup was limited to a single 15-amp circuit, which was fine for basic lighting and light power tools but nowhere near sufficient for a full-fledged woodworking shop. Larger tools like table saws, jointers, and dust collection systems require more power, often at 220 volts. Without an upgrade, we risked frequent tripped breakers and potential safety hazards.
Planning the Sub-Panel Installation
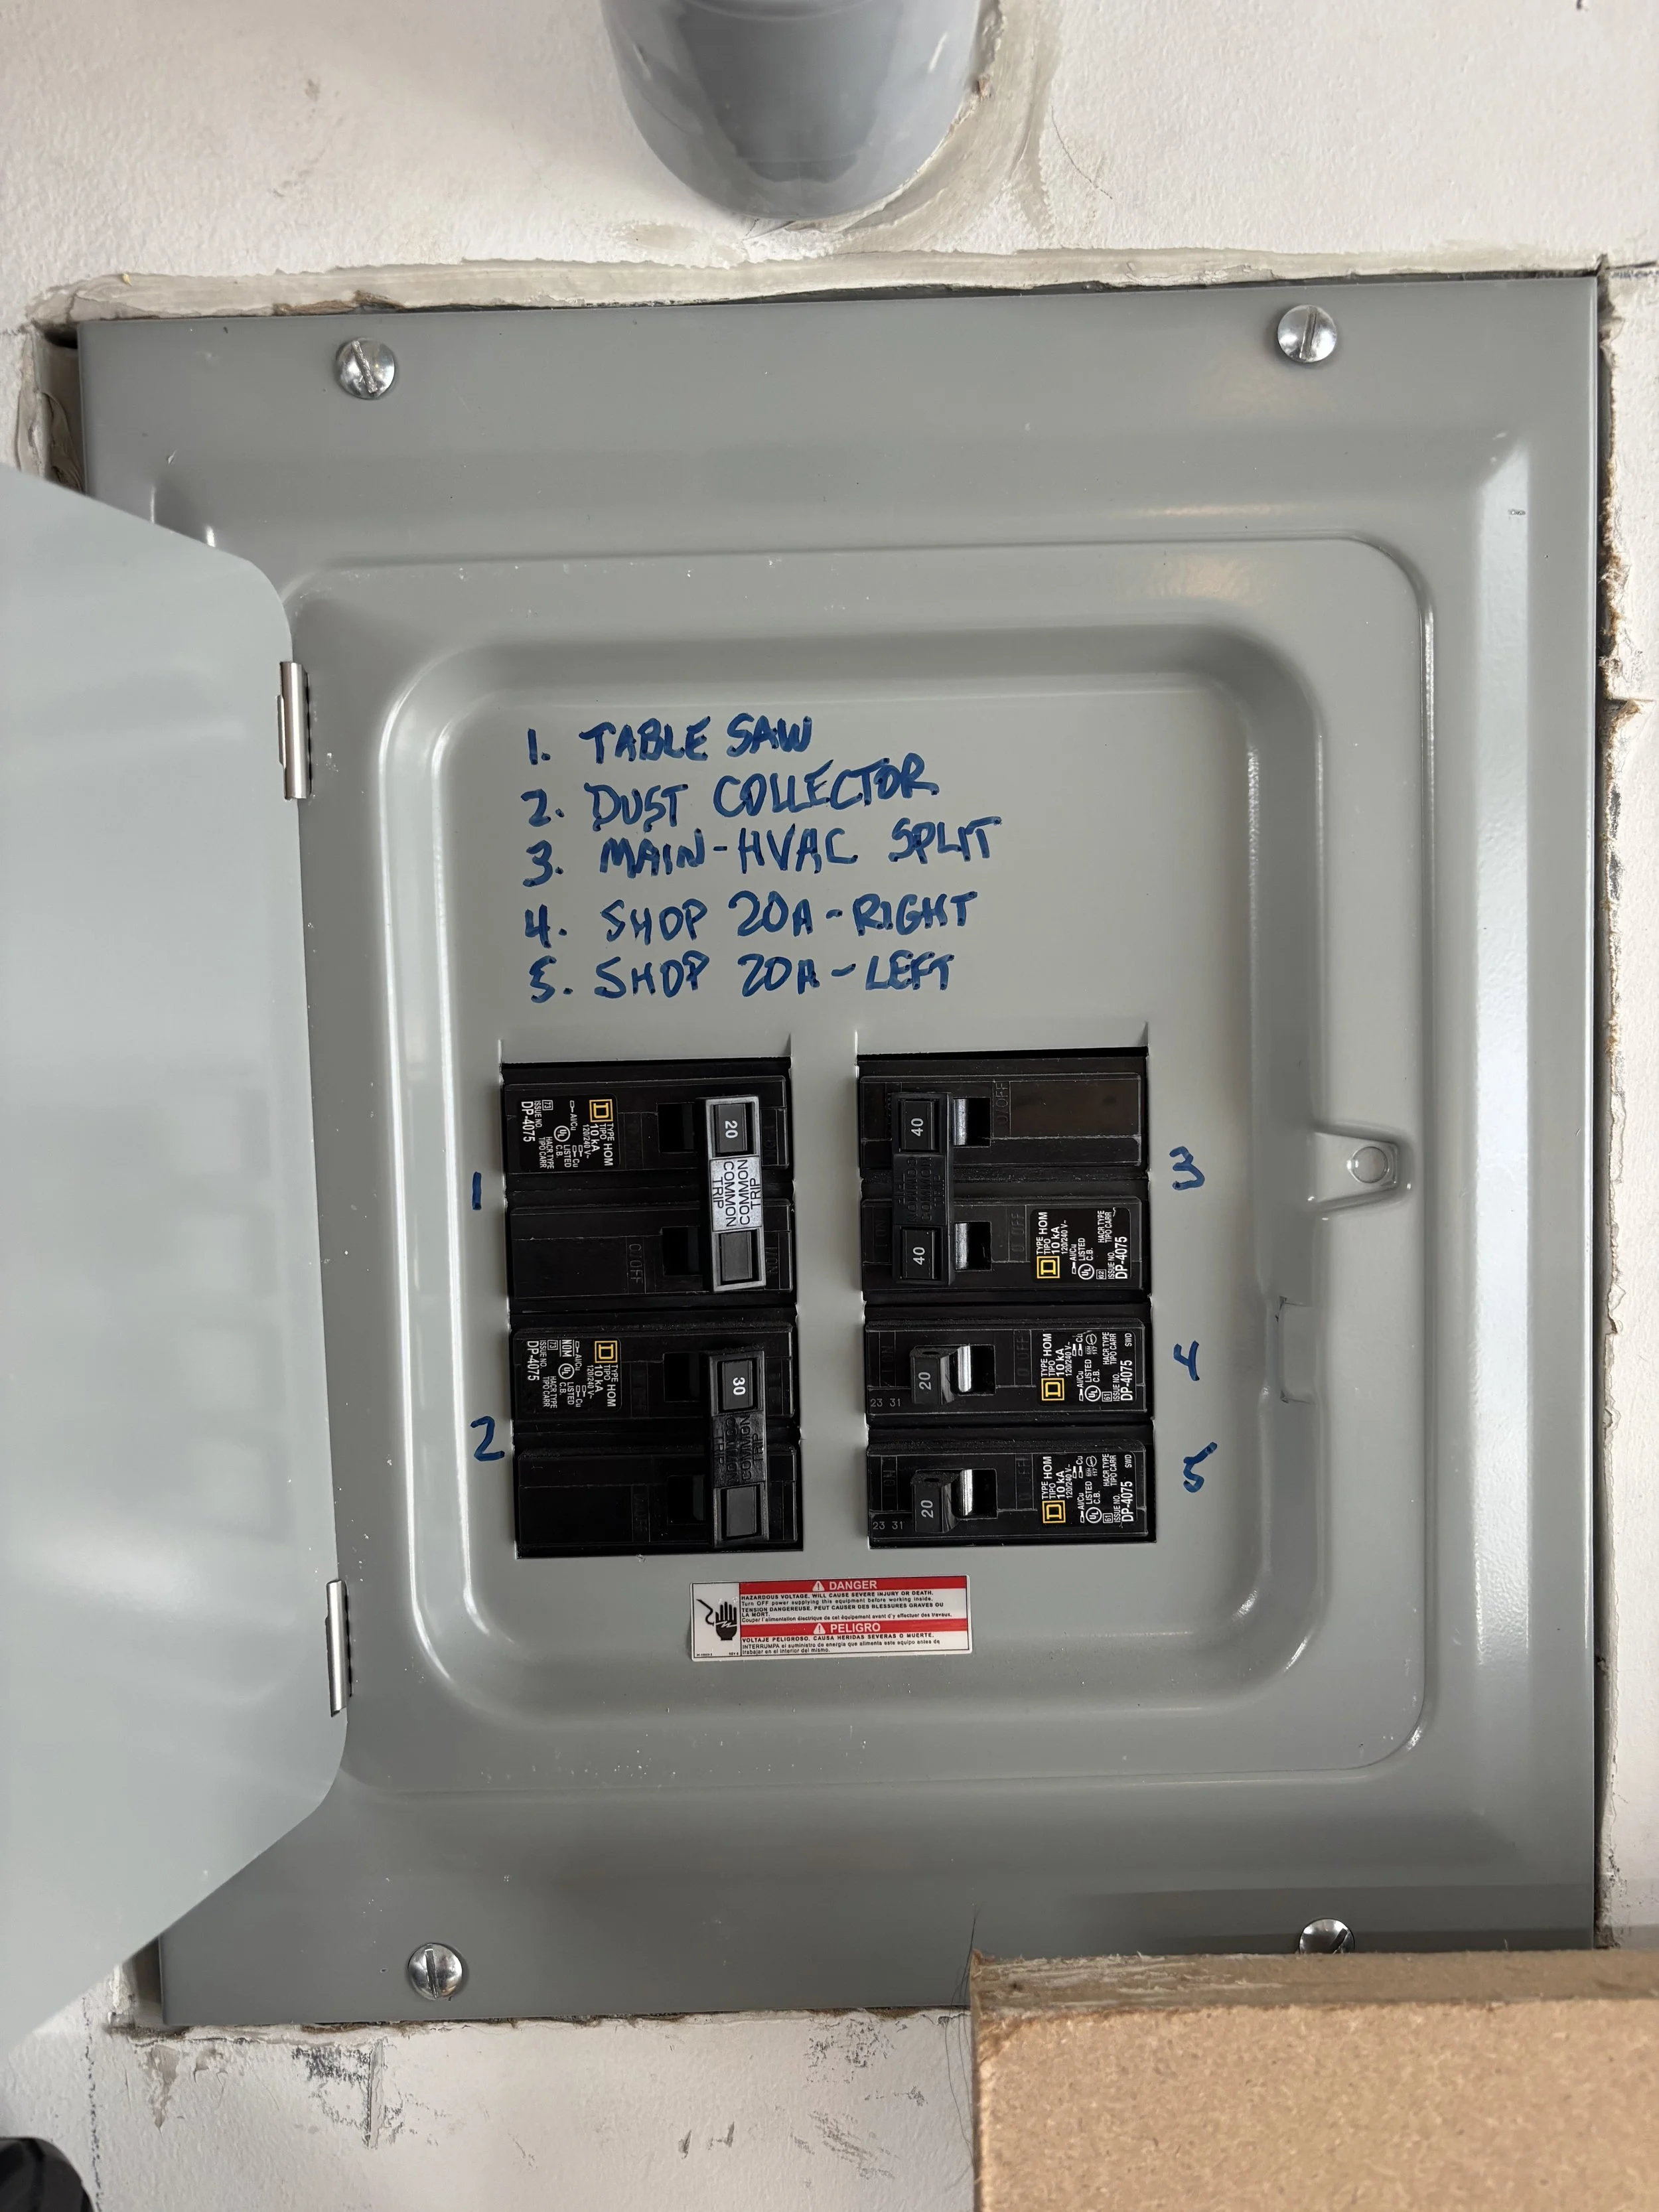
The first step was to evaluate our power needs. We listed all the equipment we planned to use and their power requirements. This included:
Table saw (220v)
Dust collection system (220v)
Planer and jointer (110v each)
Smaller tools like sanders and routers (110v)
Based on this, we decided to install a 100-amp sub-panel. This would provide plenty of capacity for current needs and leave room for future expansions.
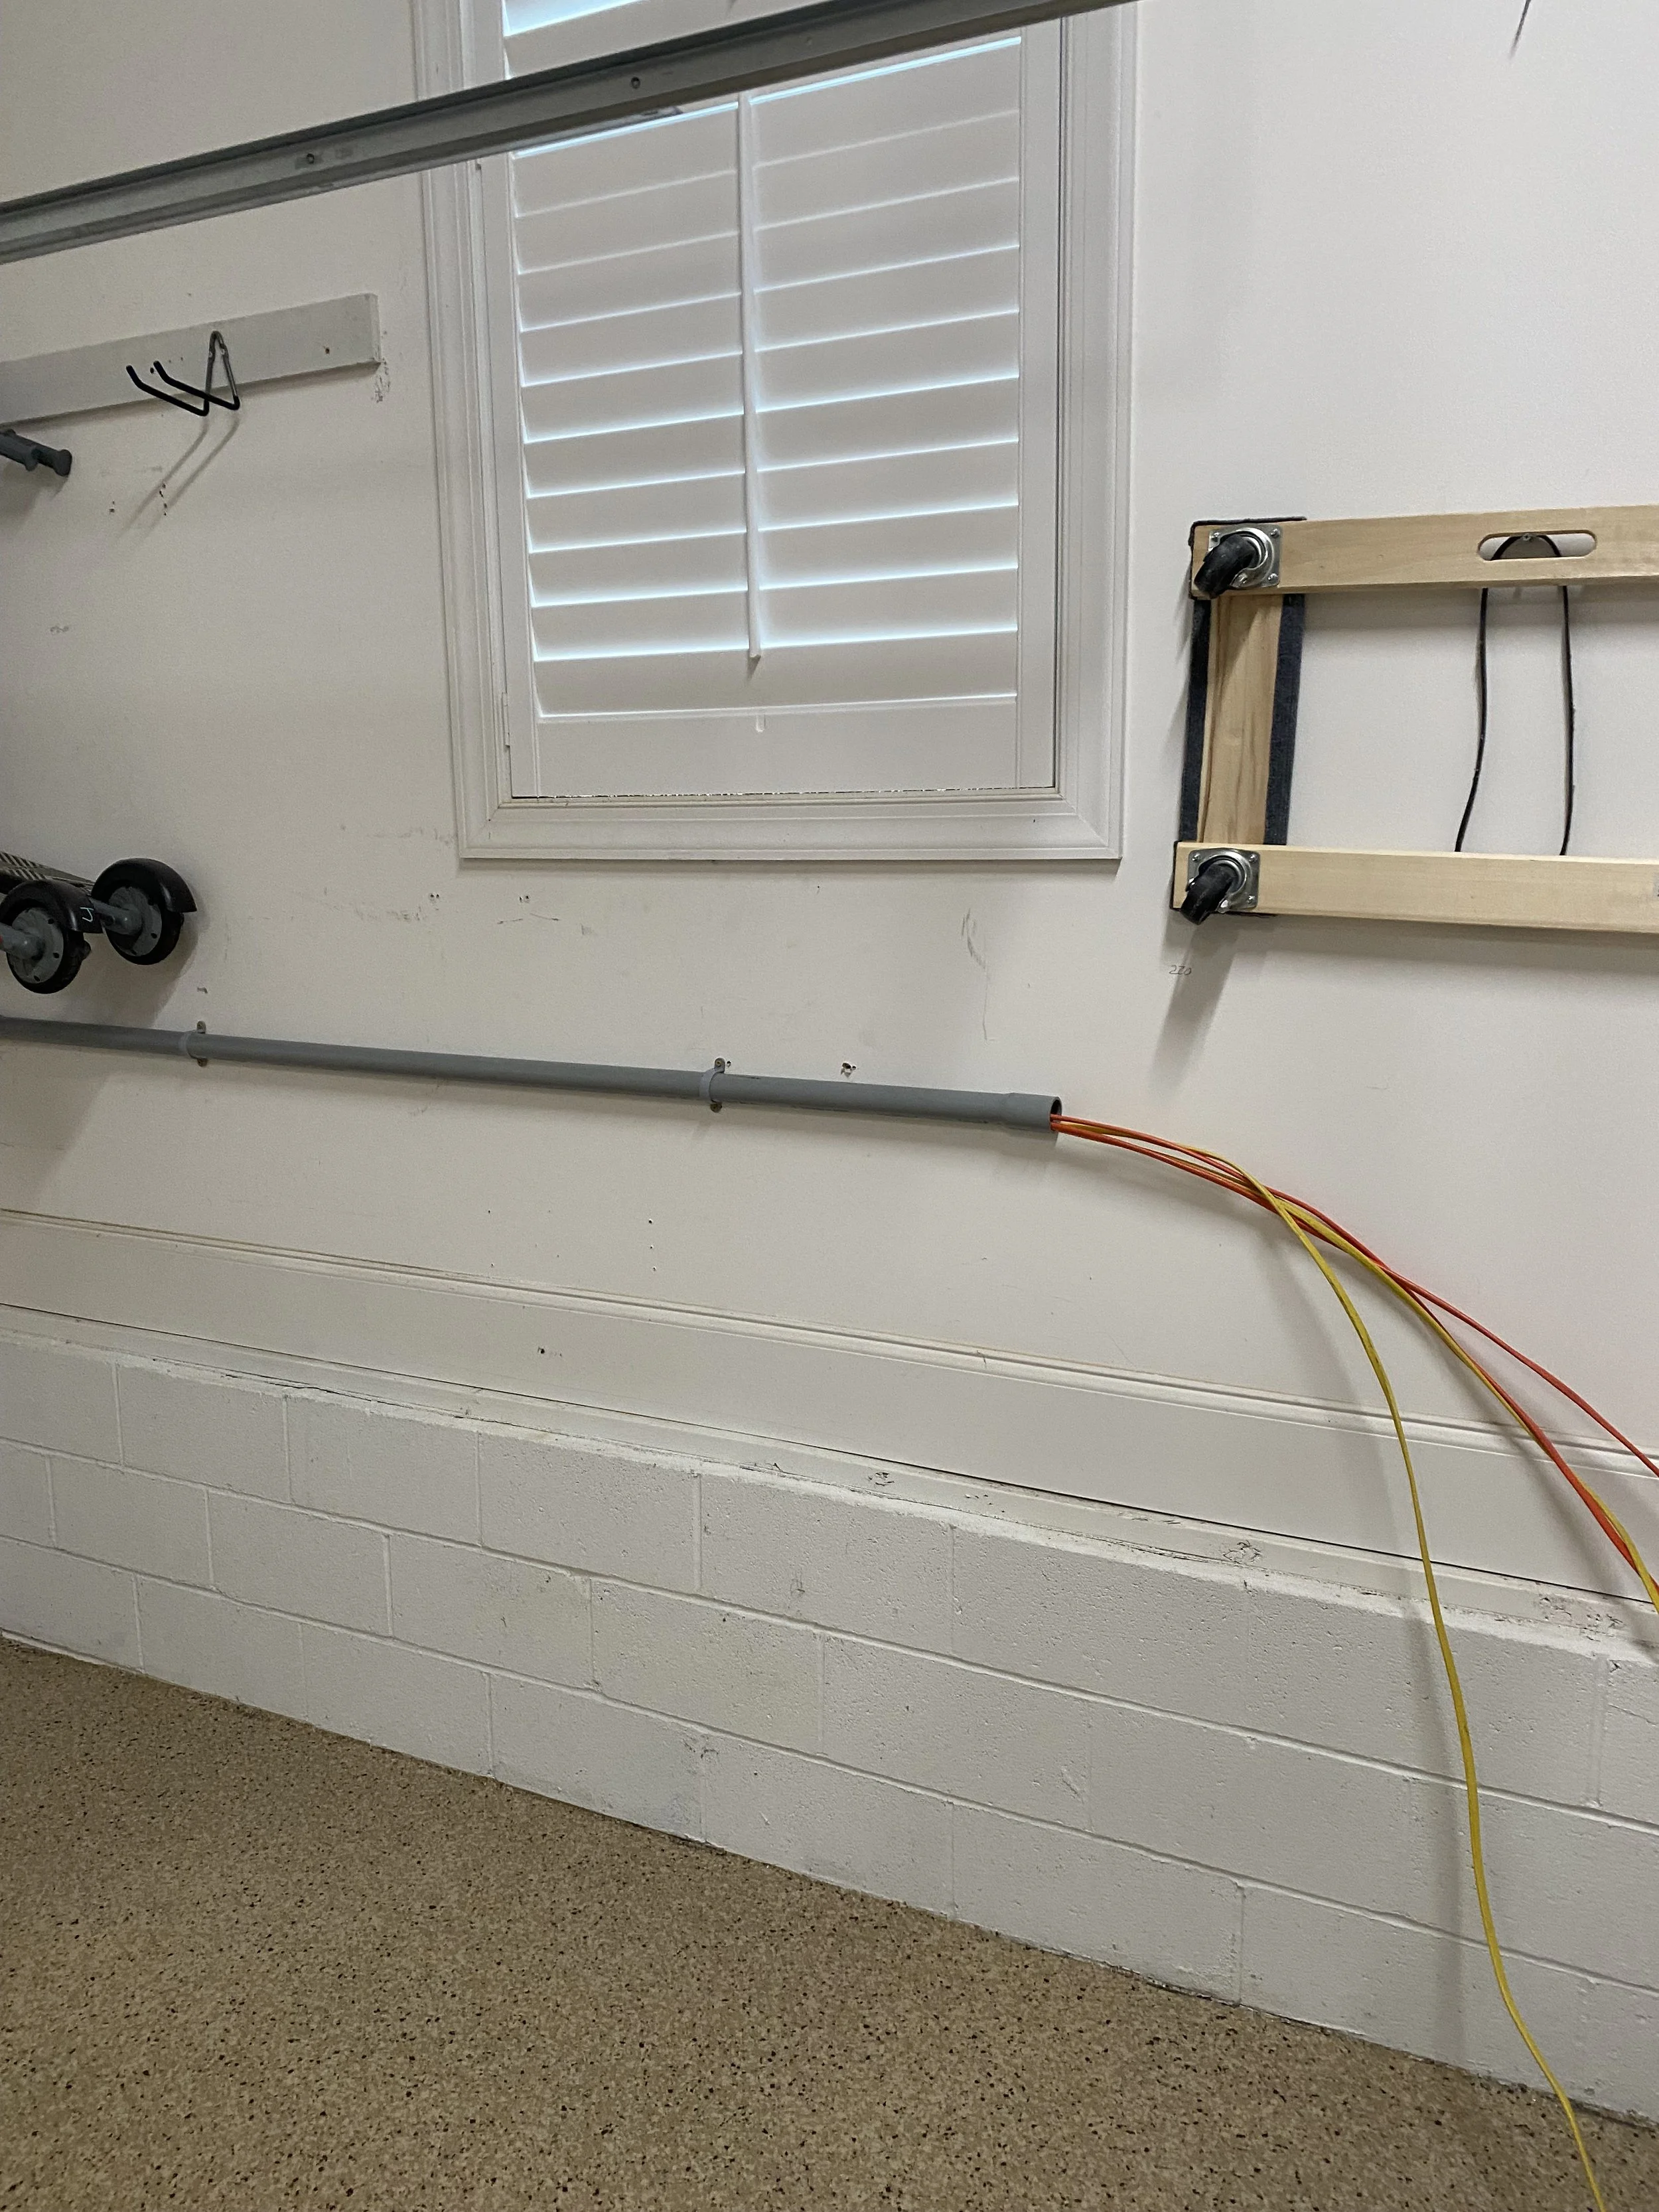
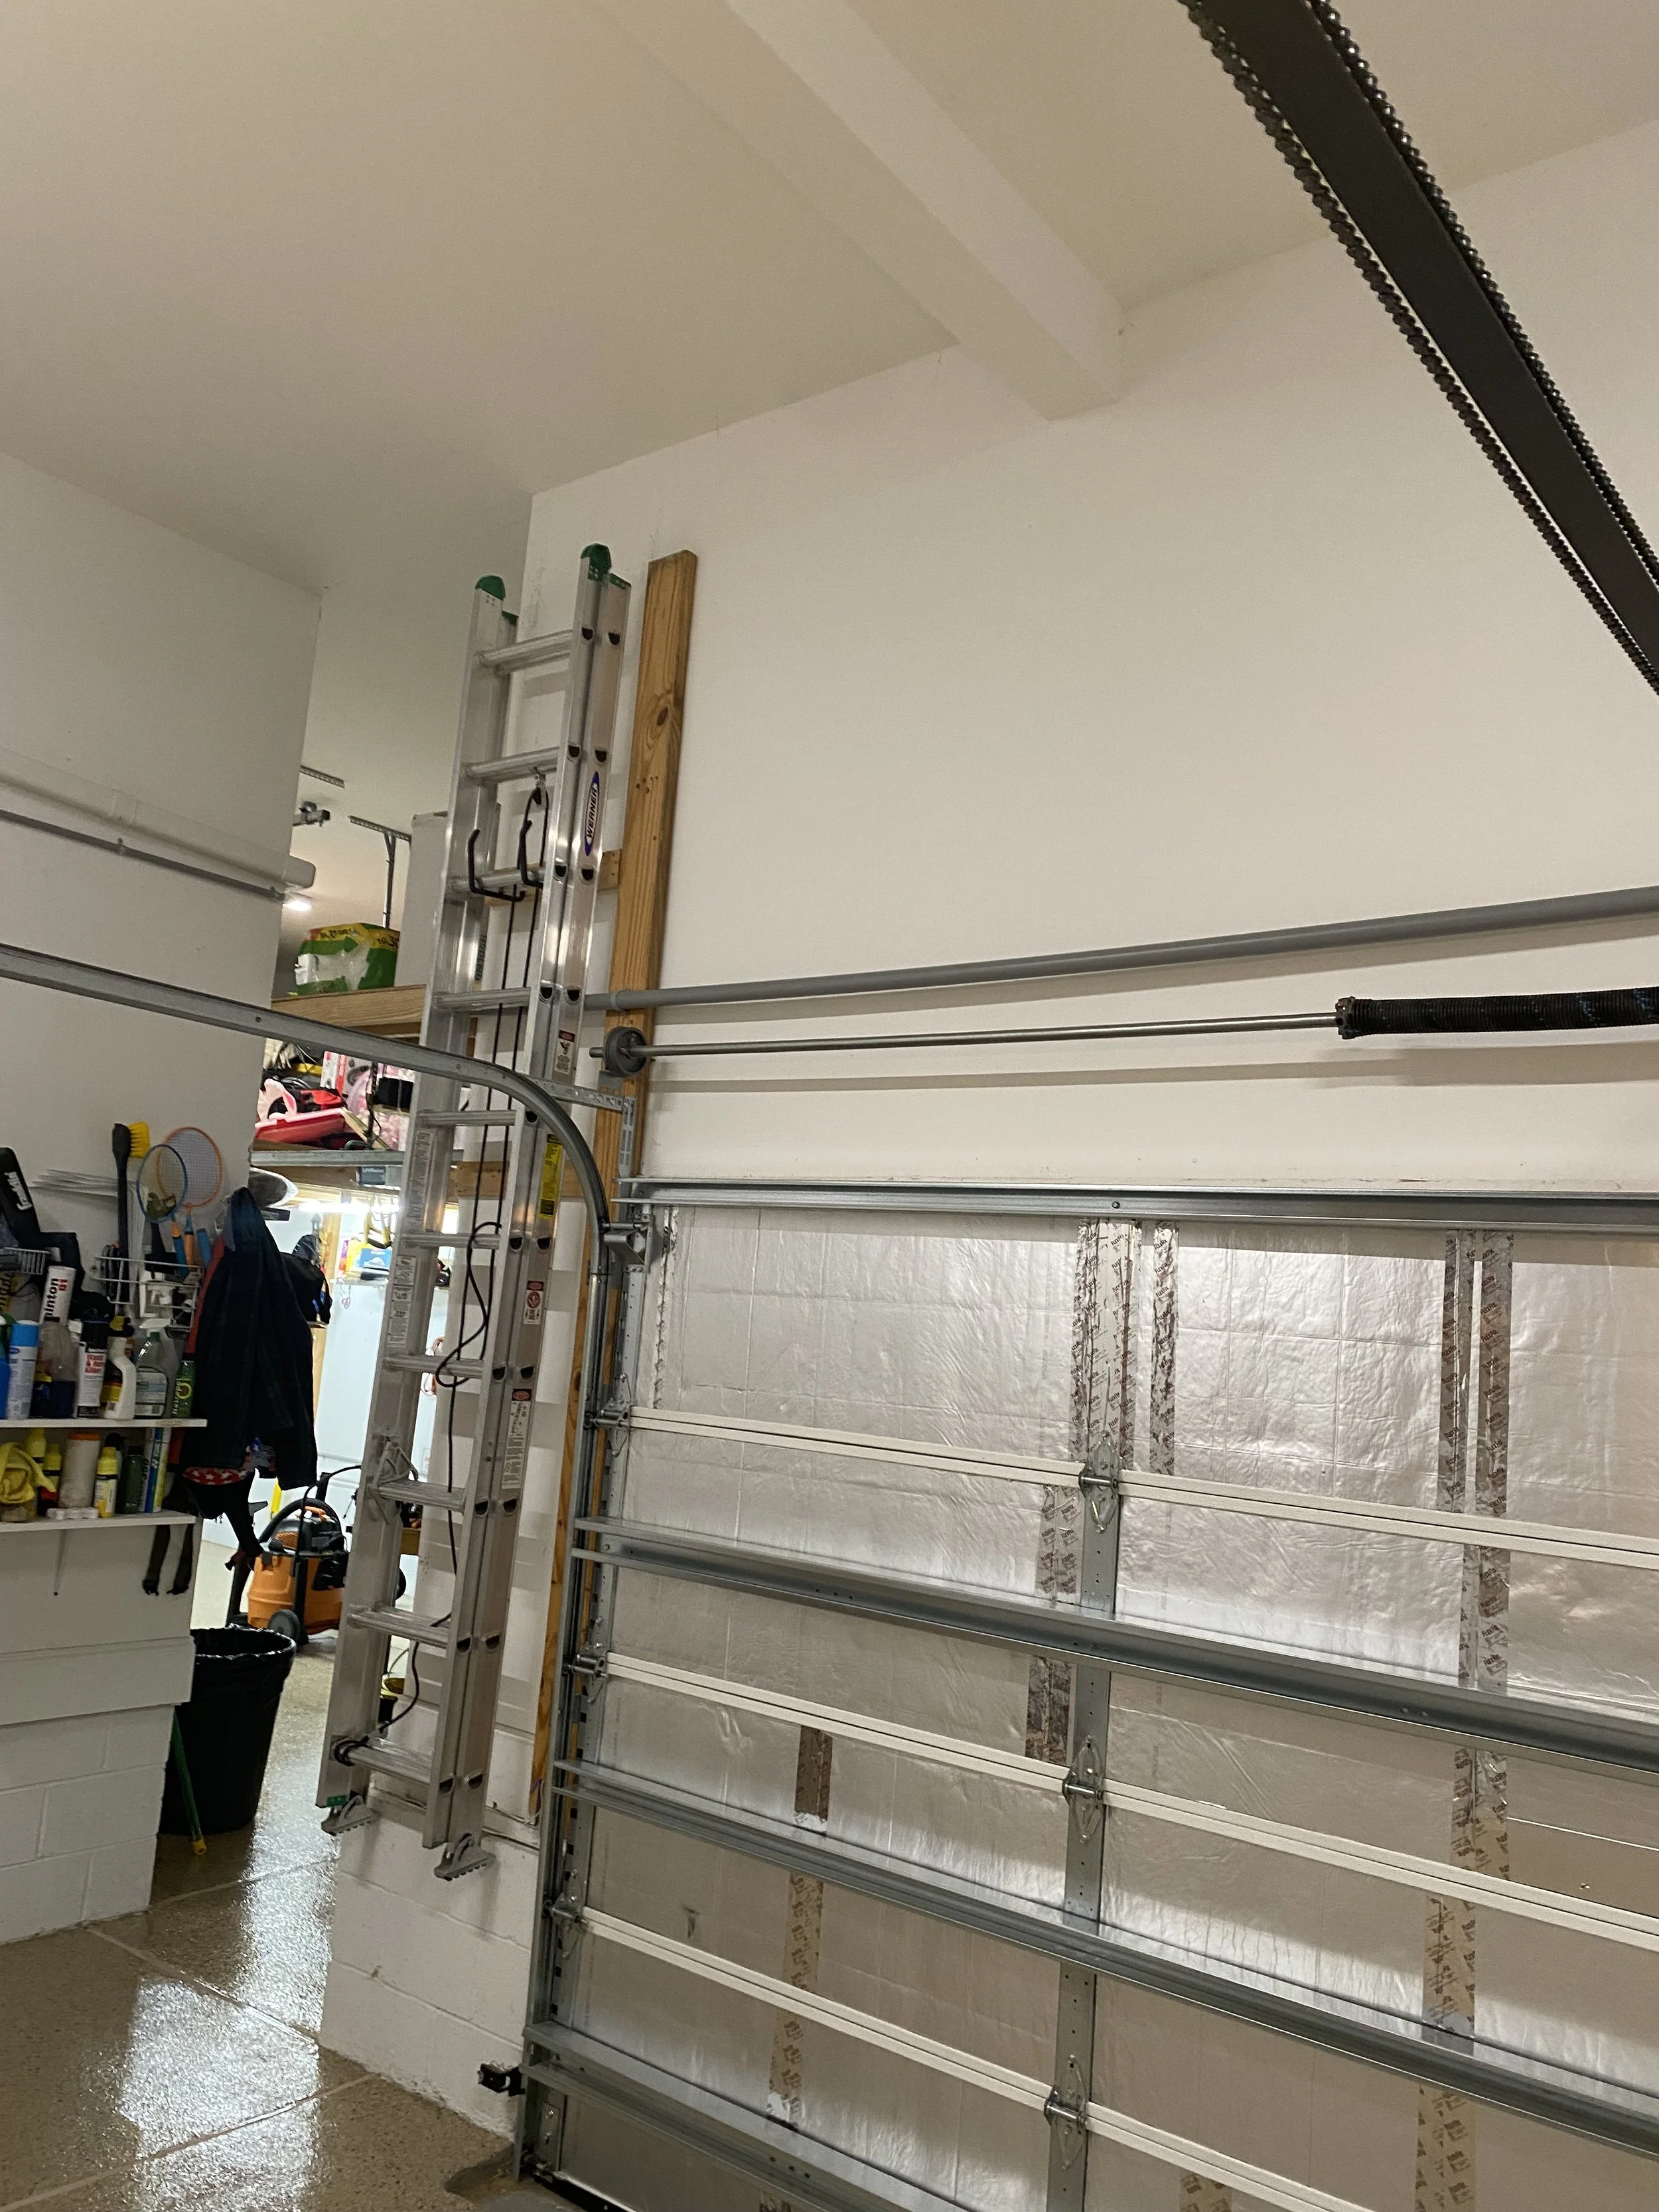
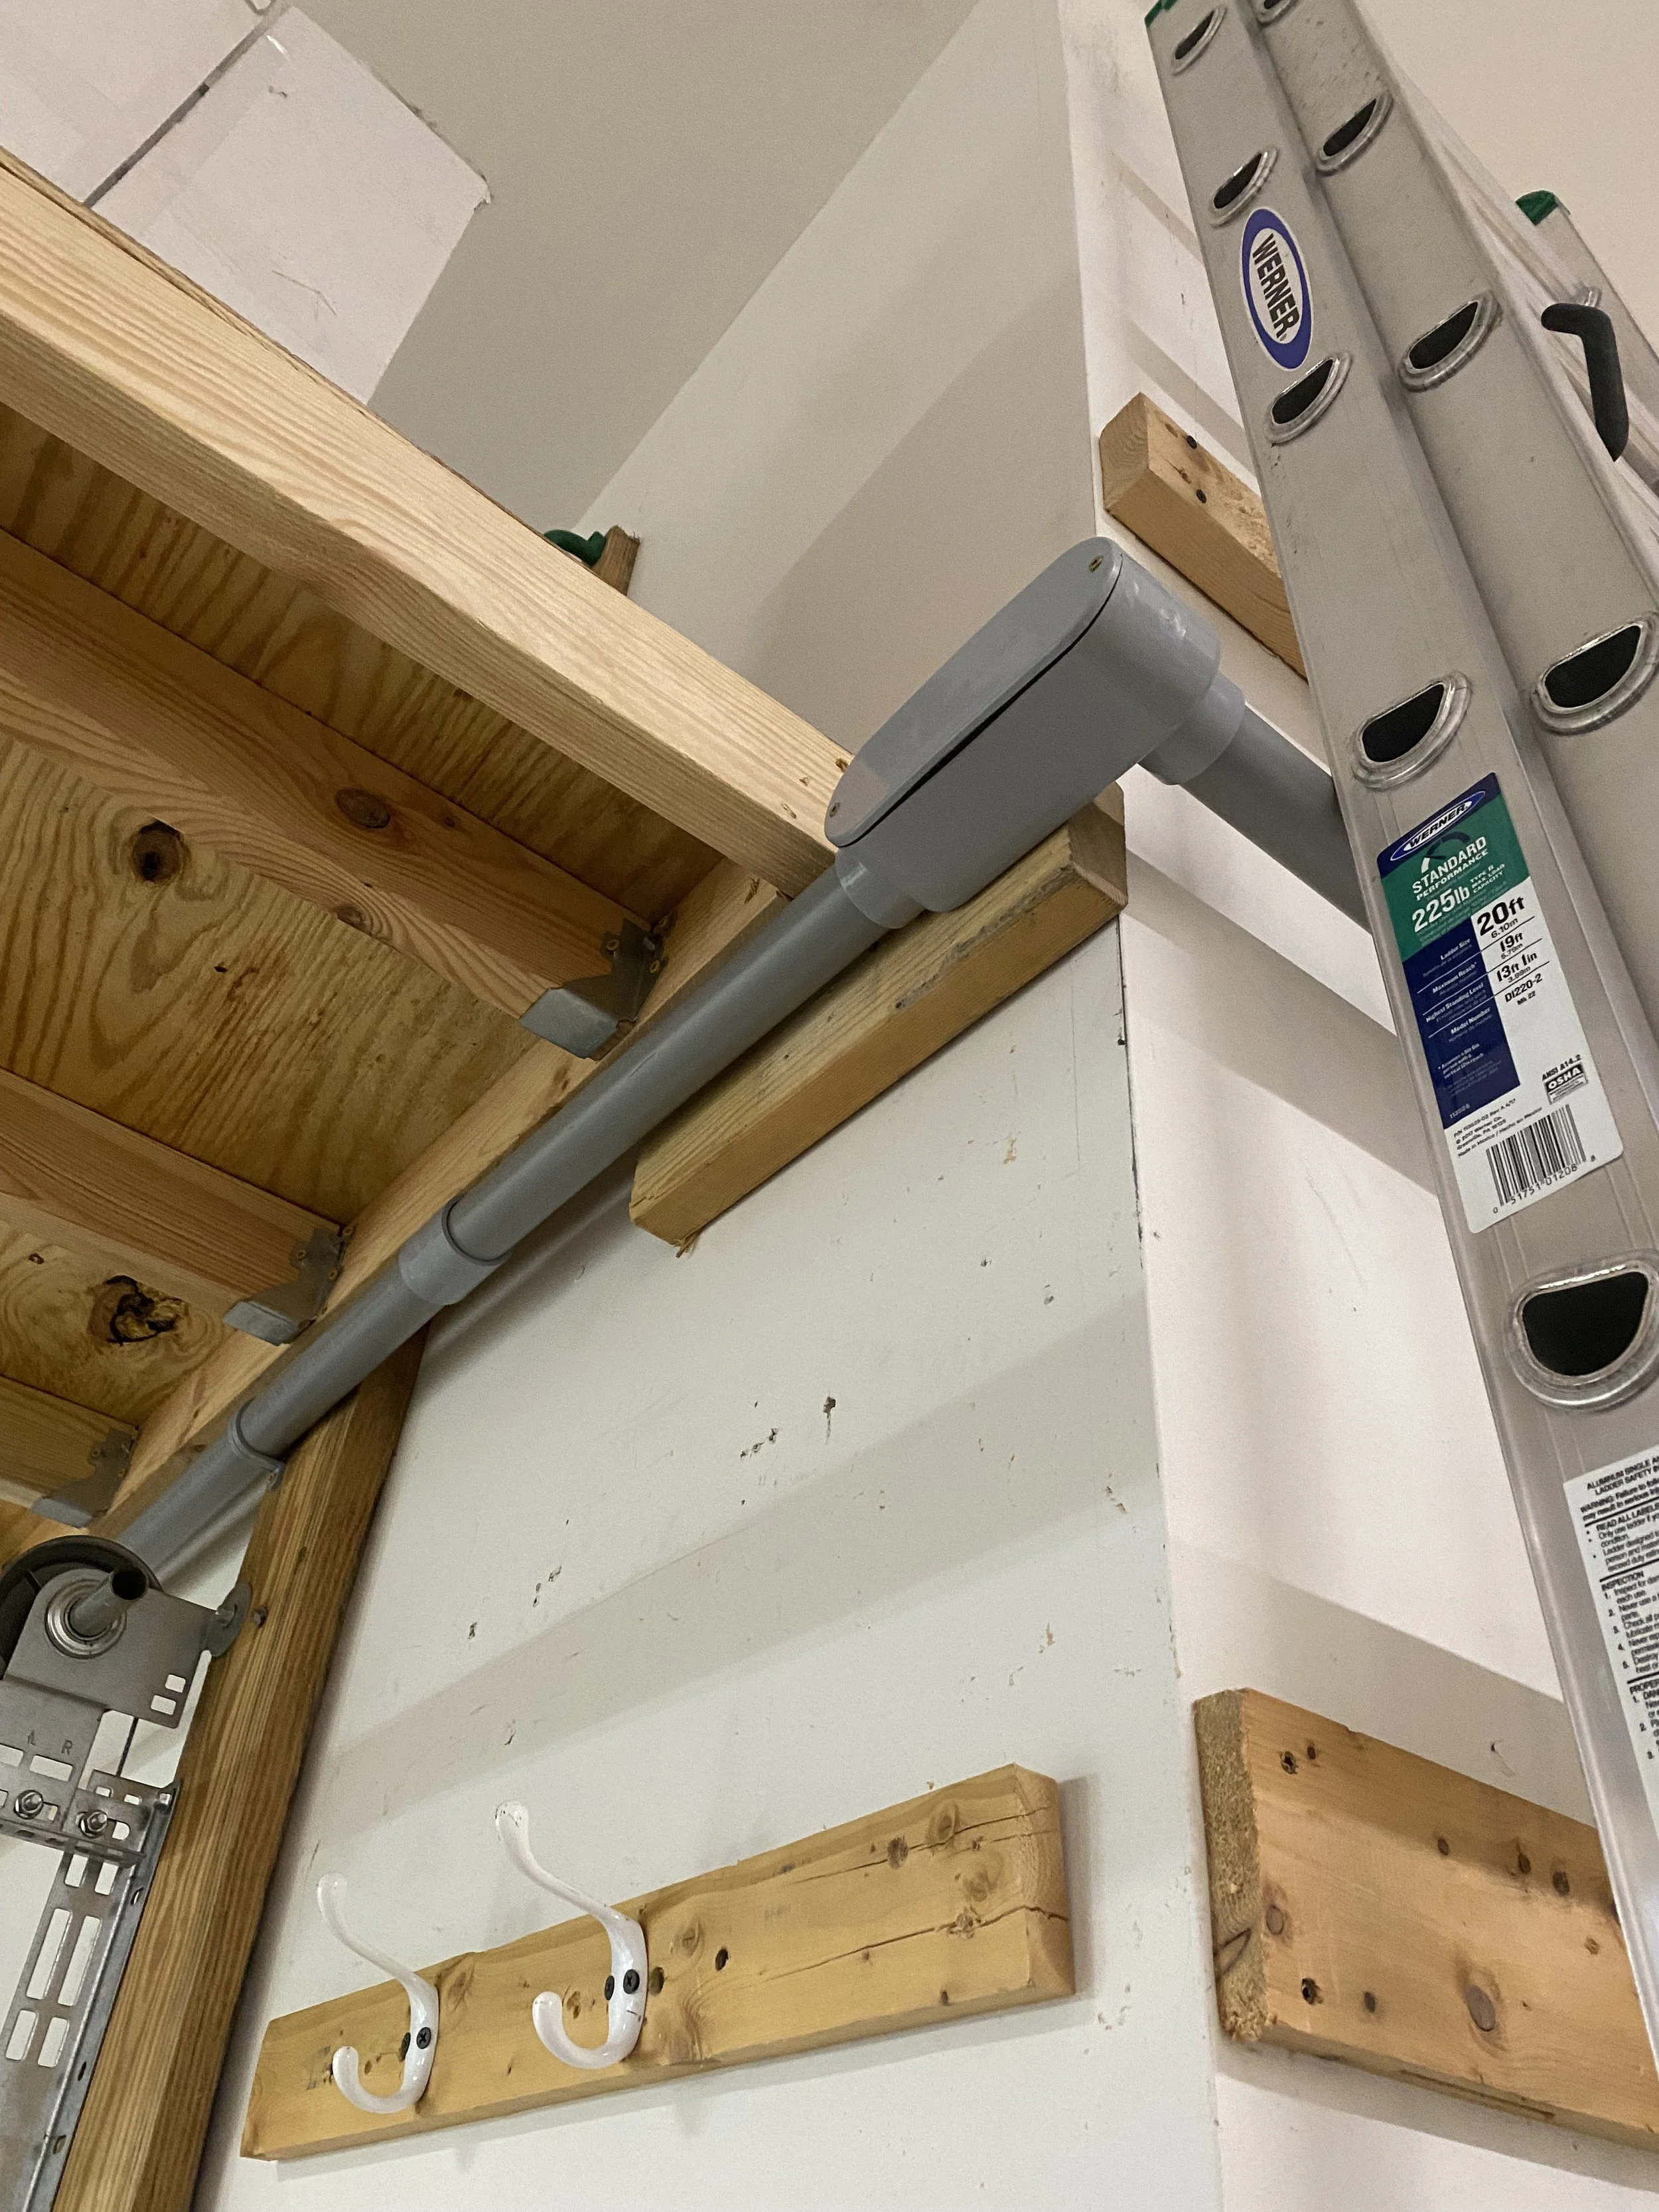
Running the Conduit and Circuits
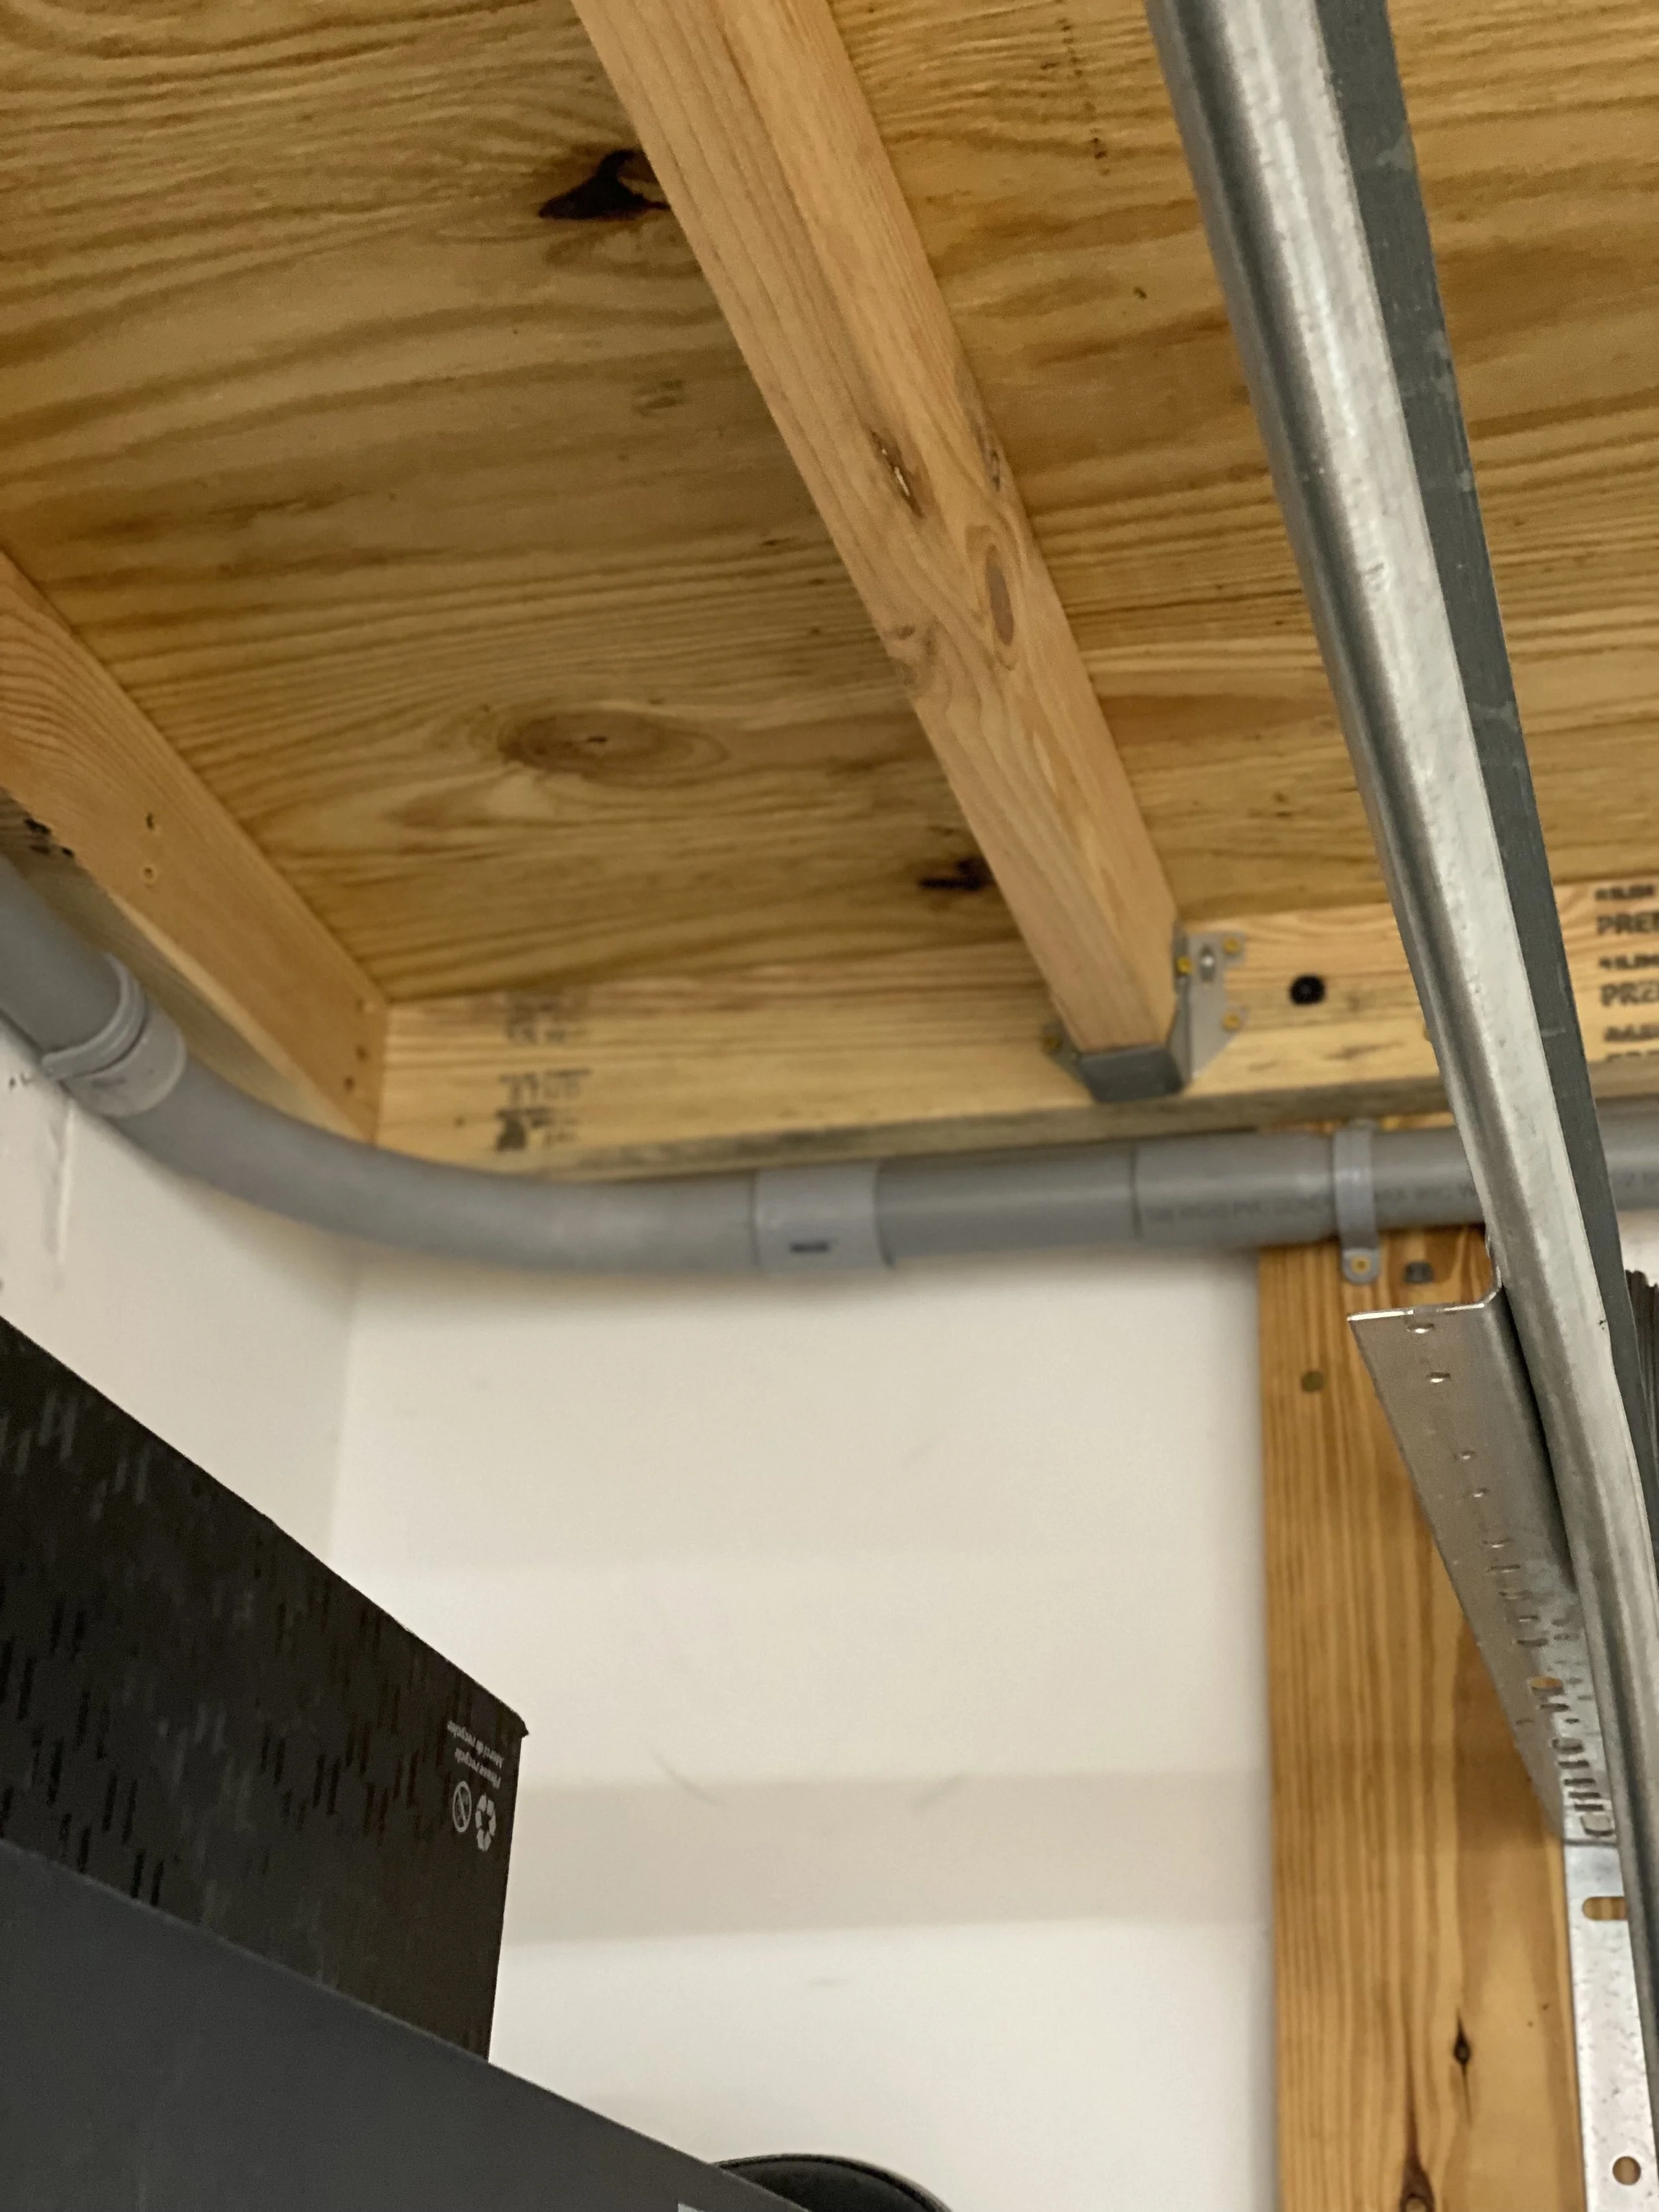
To keep the setup organized and compliant with local electrical codes, we opted to run all wiring through conduit. Here’s how we approached it:
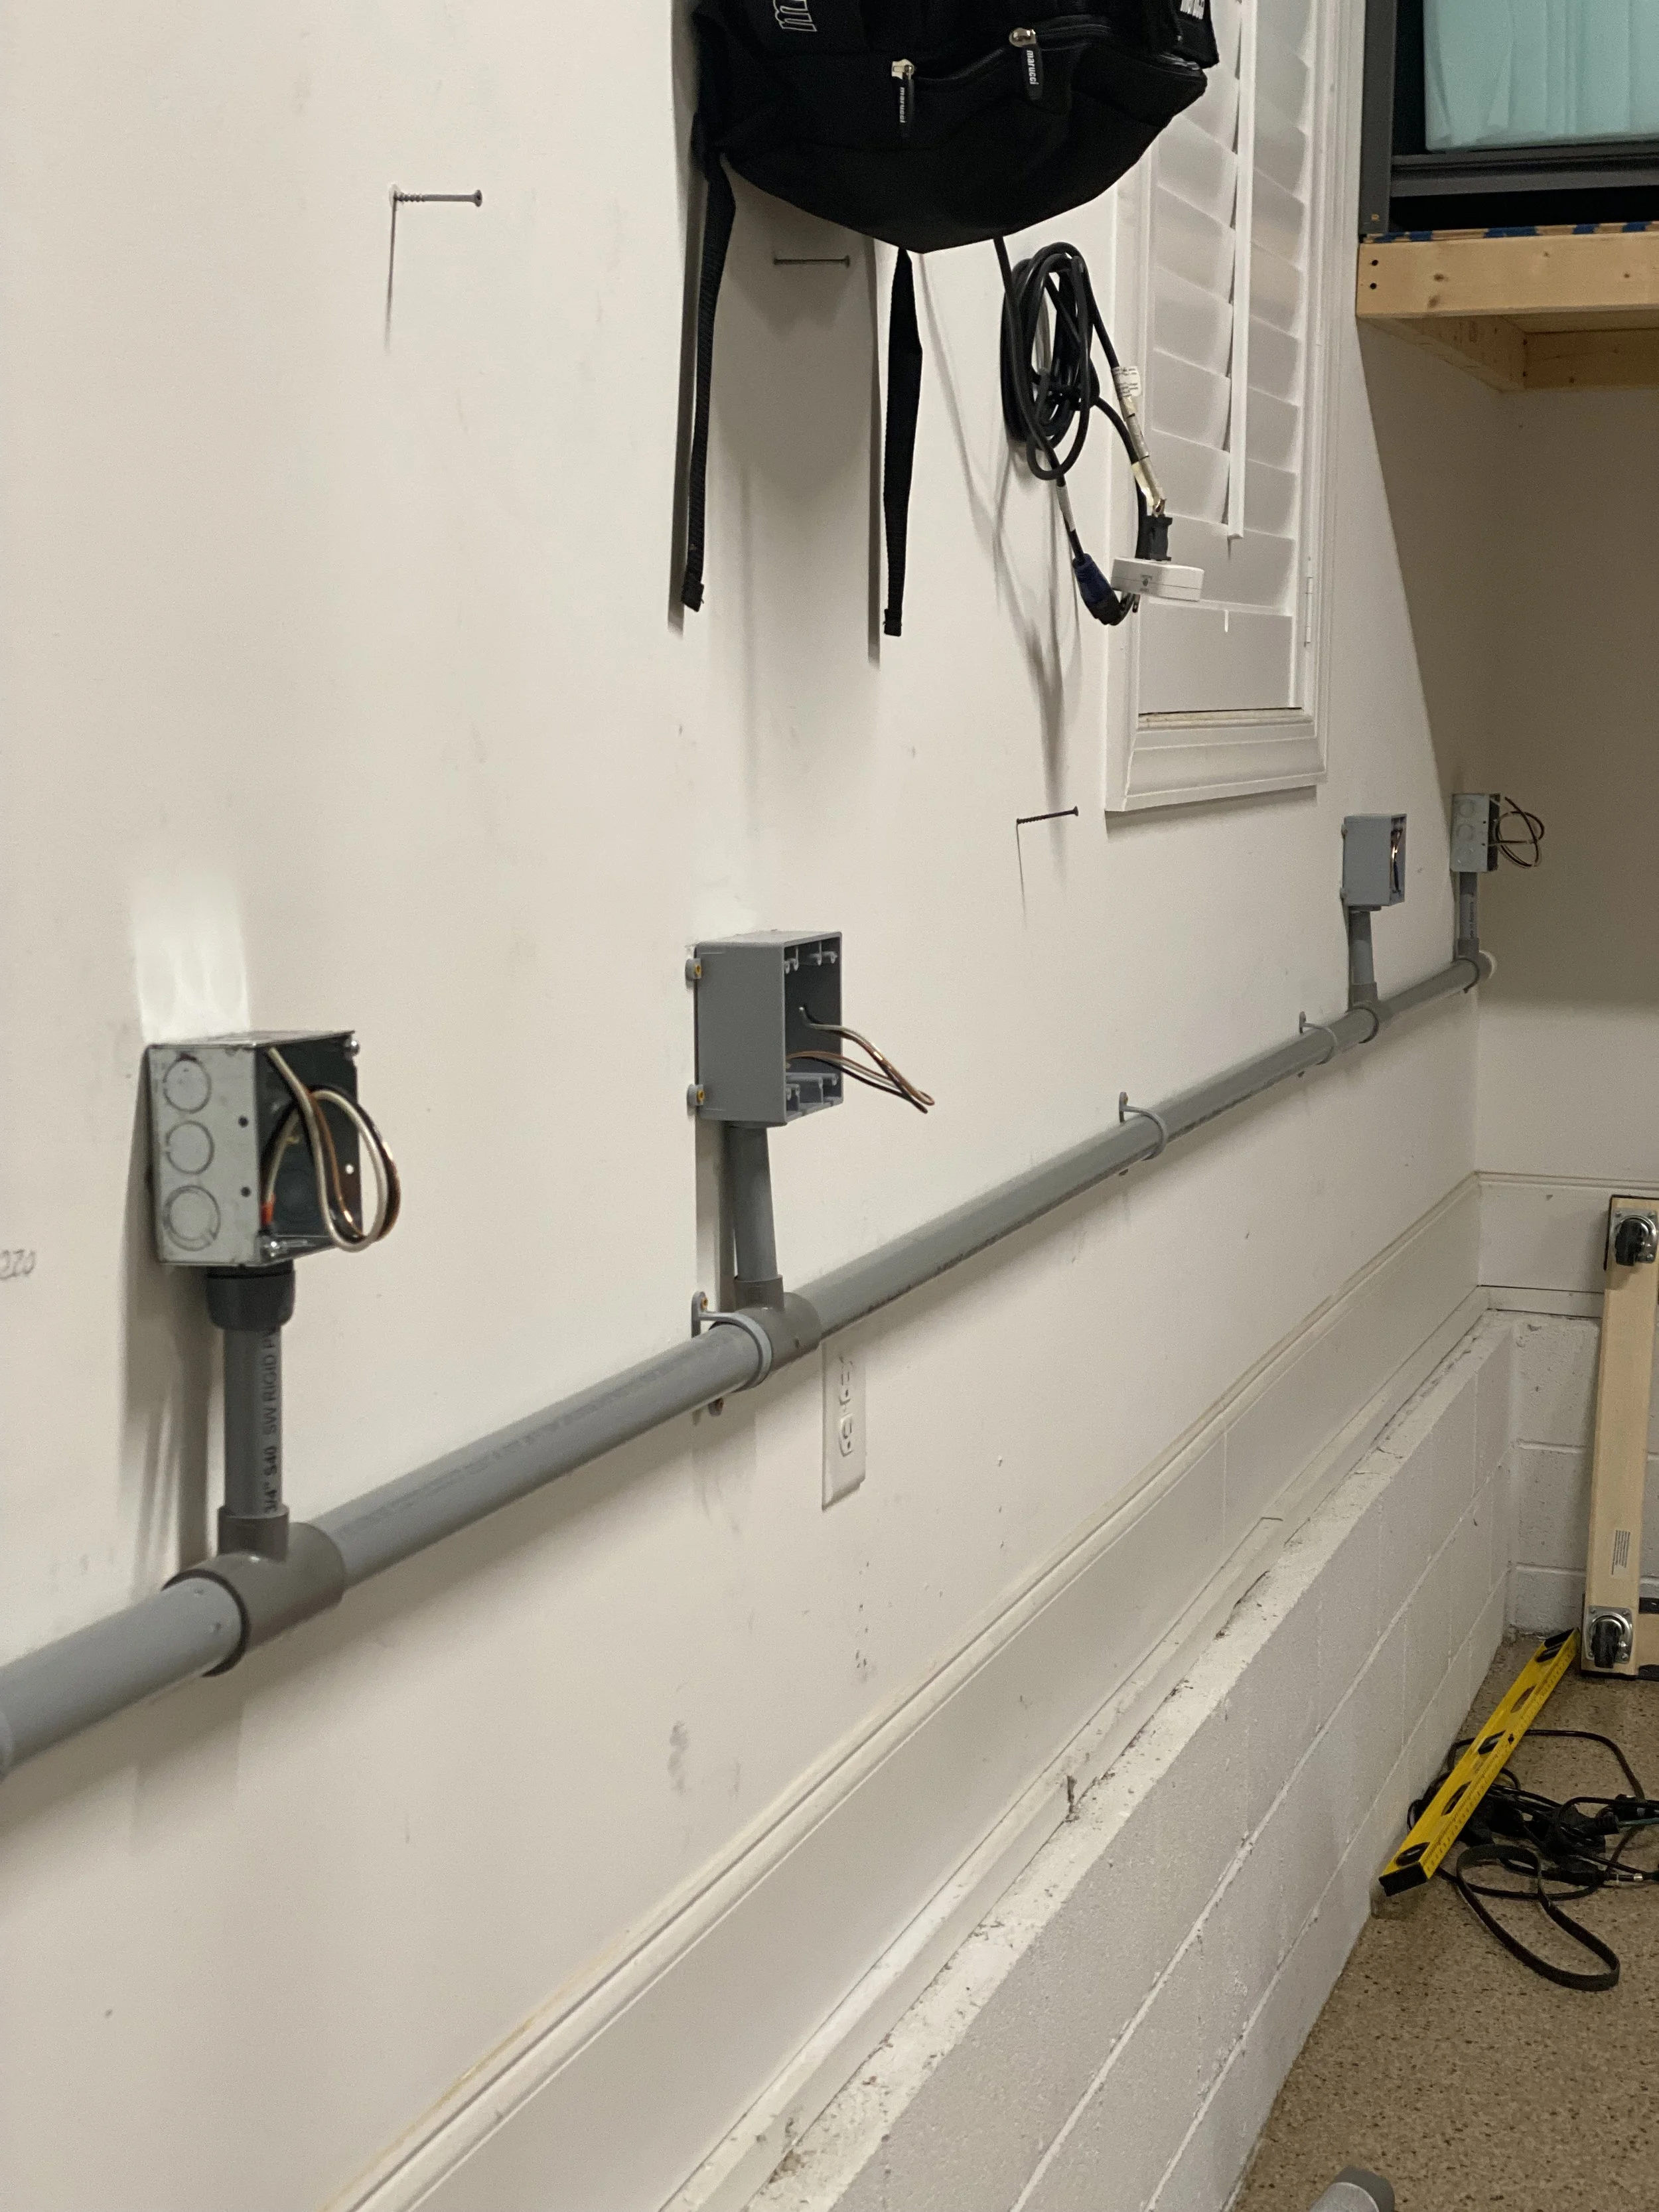
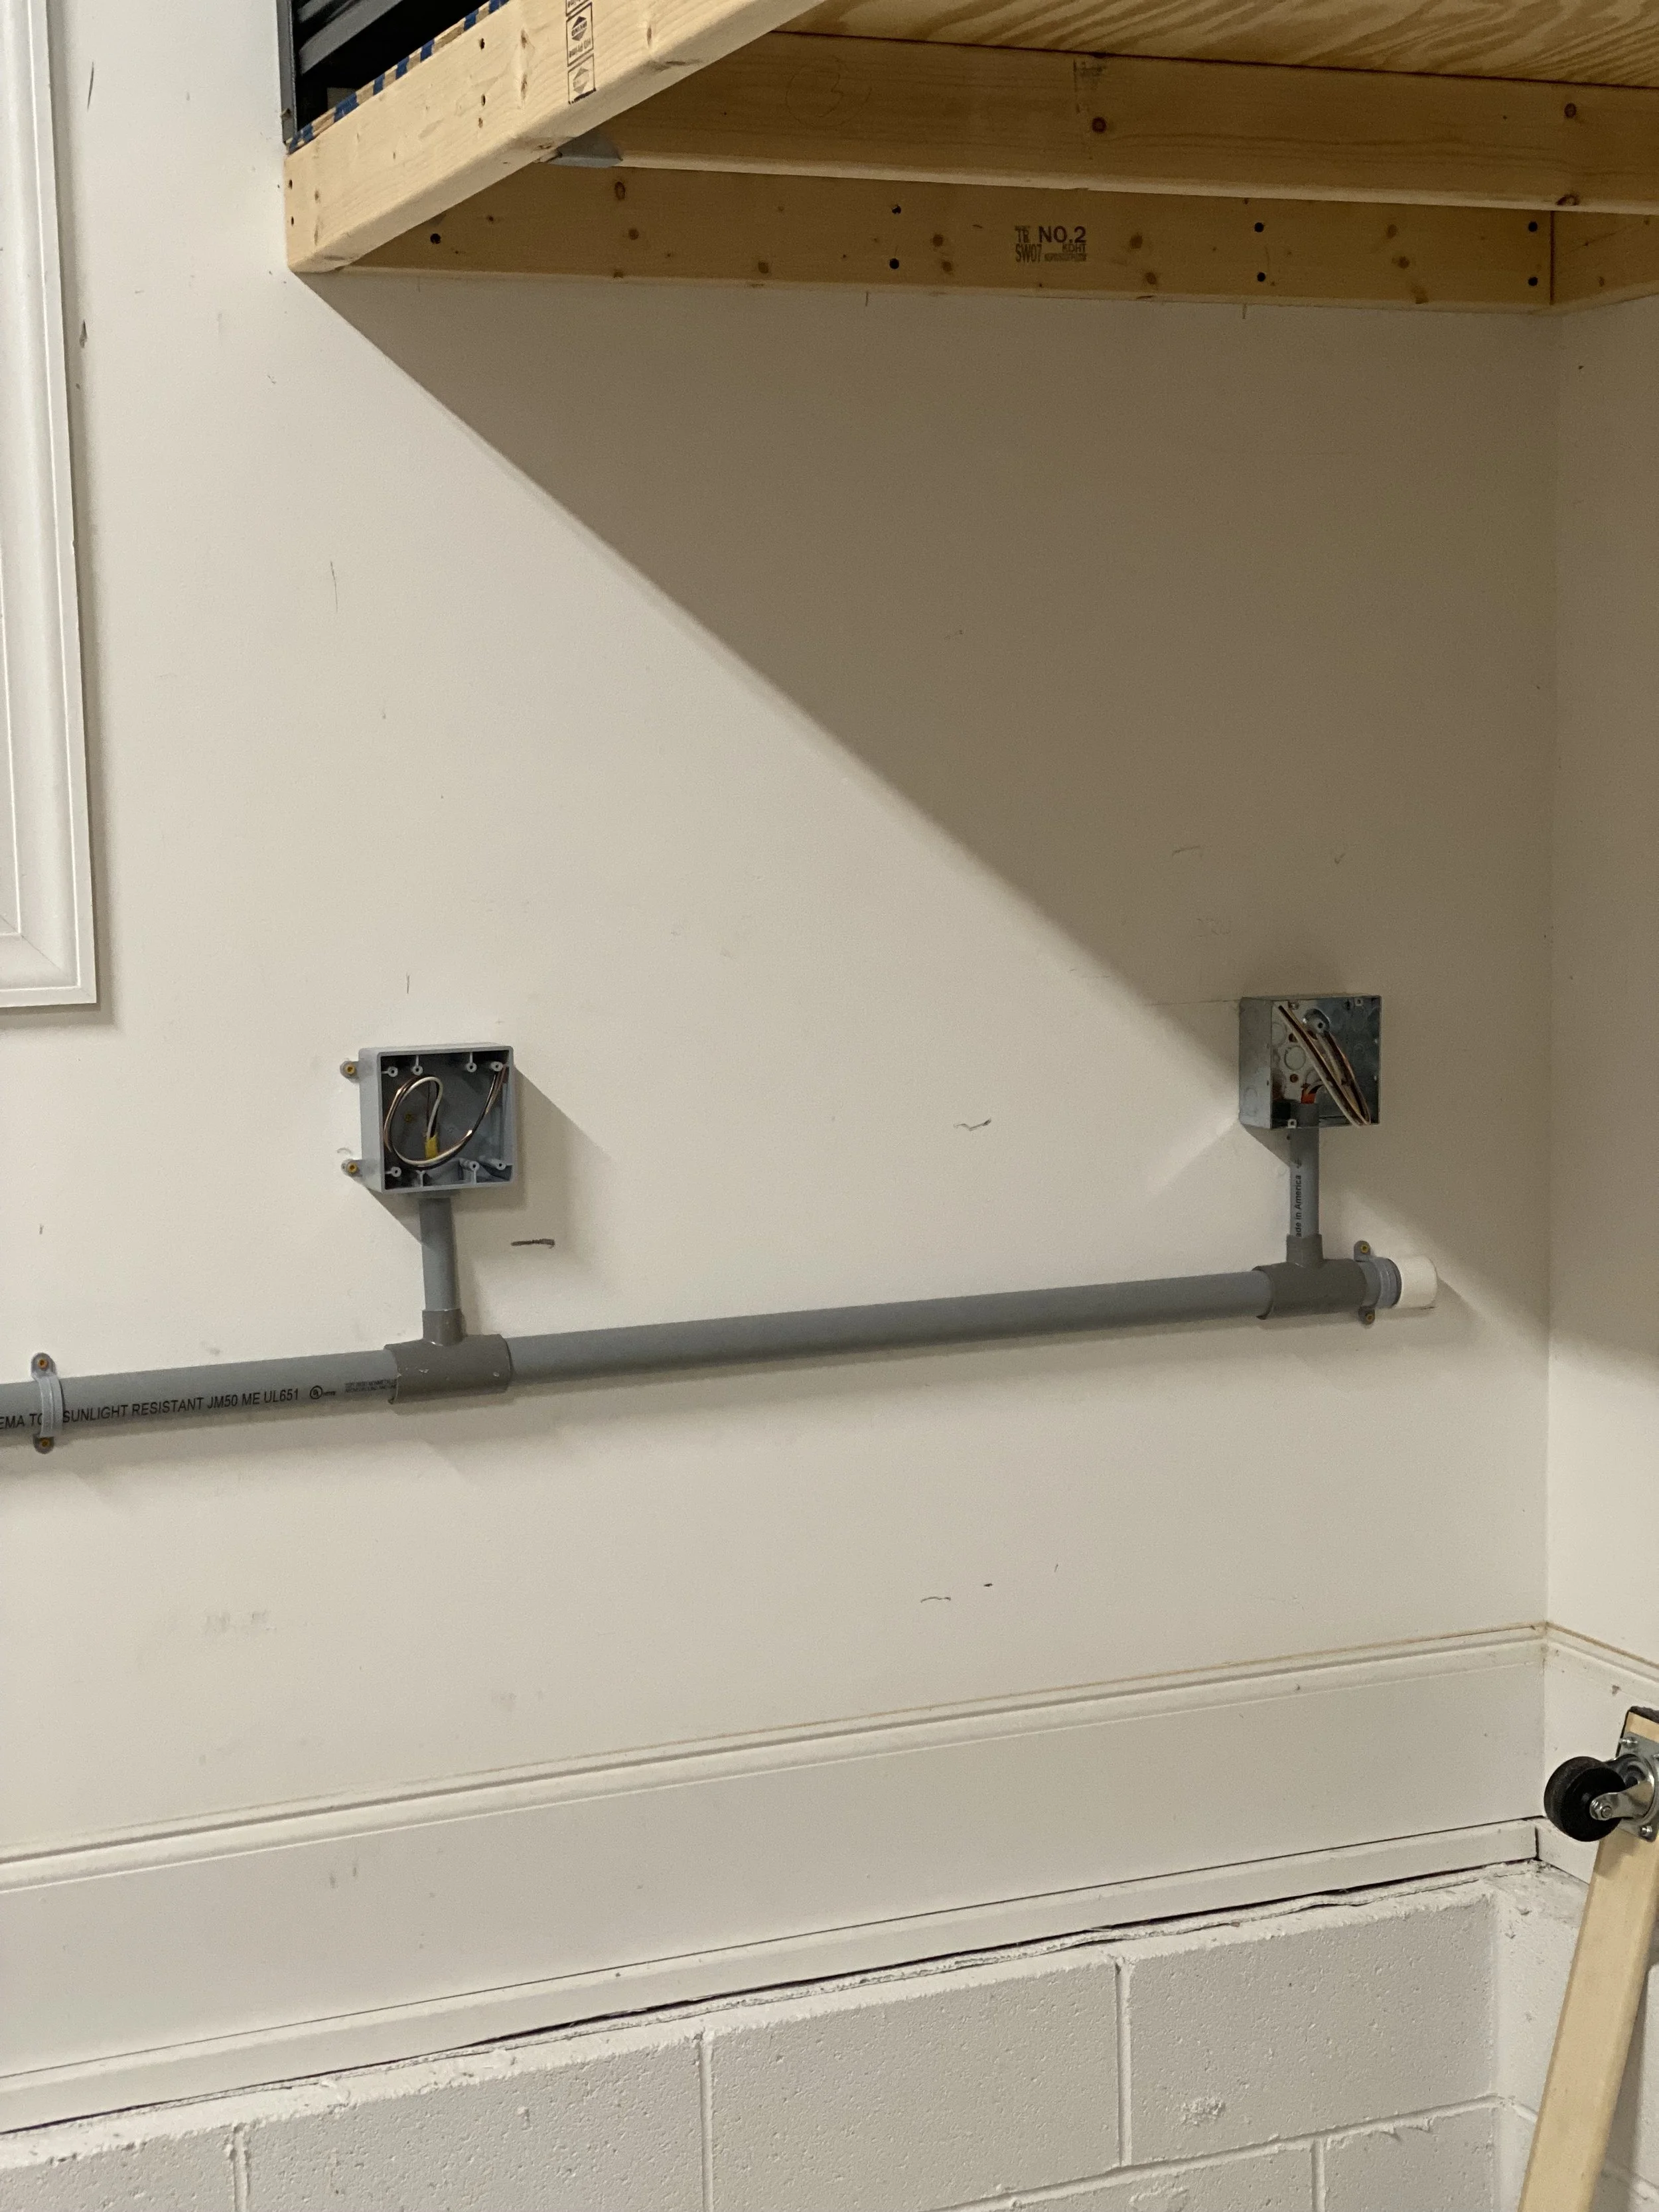
Mapping Out the Layout: We sketched a layout of the garage, marking where each tool would be placed and the location of outlets. This helped us determine the number and length of circuits needed.
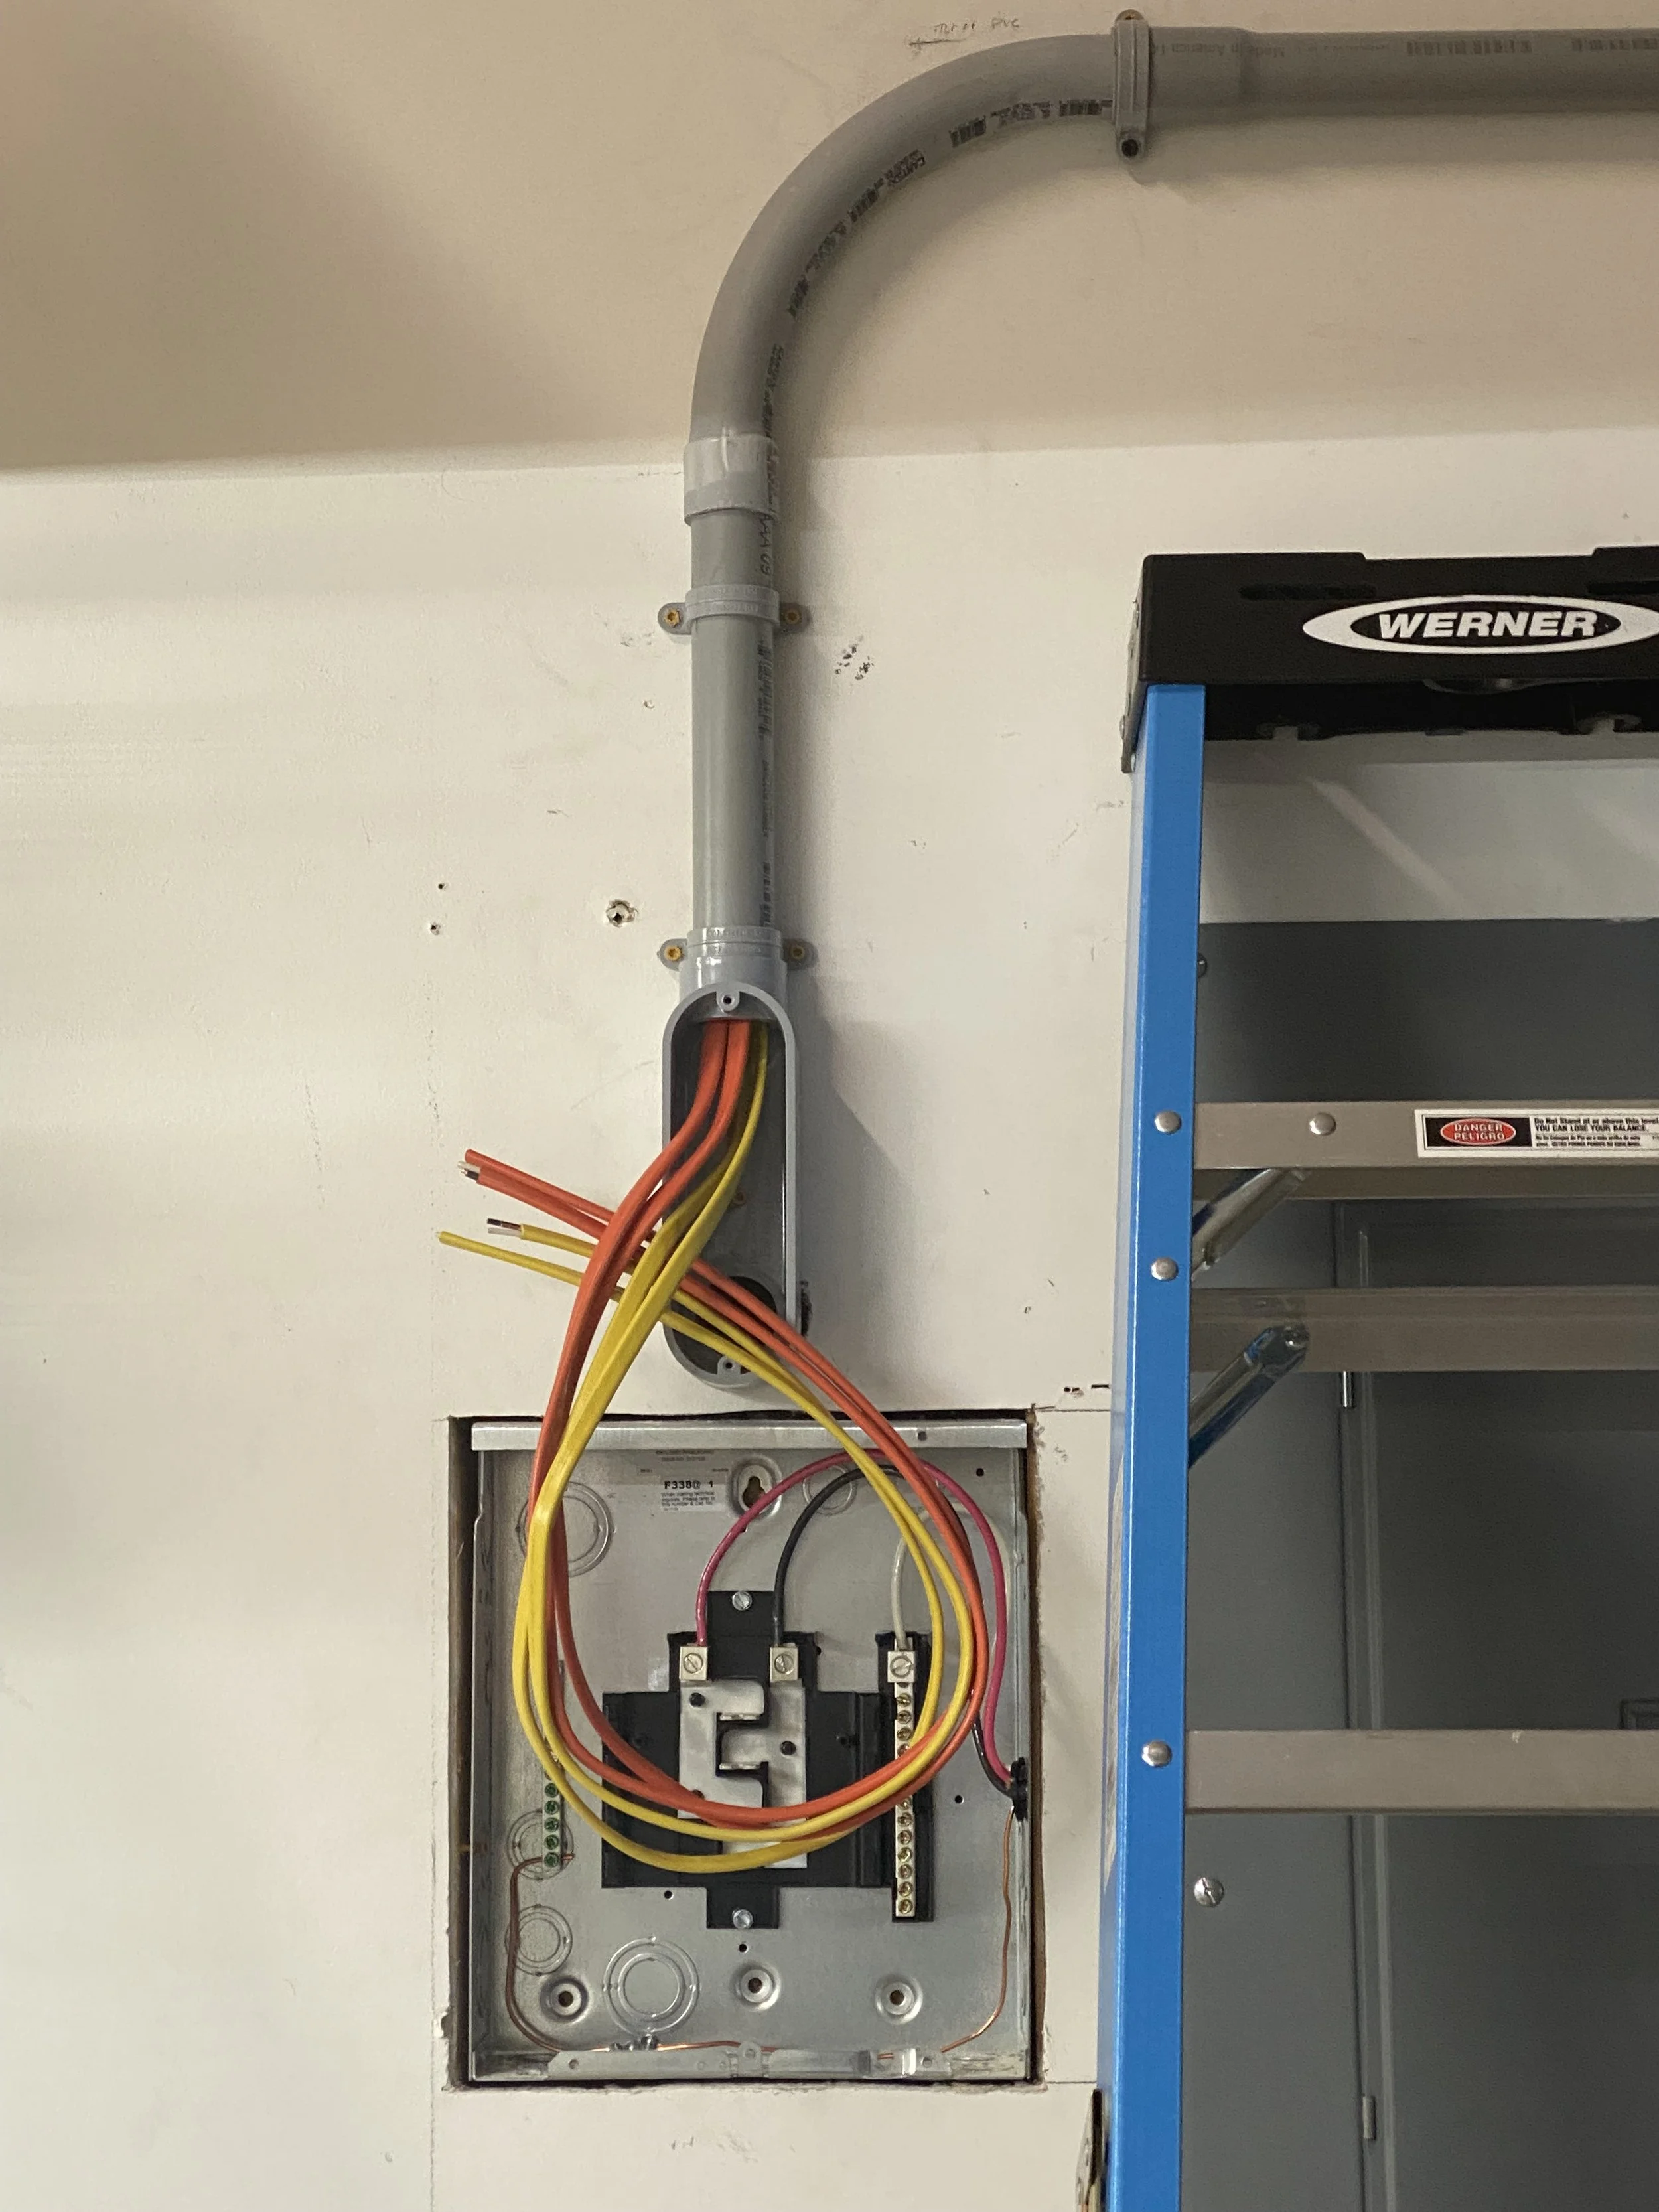
Installing the Sub-Panel: Working with a licensed electrician, we installed the sub-panel, which was fed from the main panel in the house. This required running a 100-amp feeder line to the garage.
Pulling Wires Through Conduit: For the 220v circuits, we used heavier-gauge wire to handle the higher power draw. The 110v circuits were spaced strategically around the workshop to accommodate smaller tools and general use.
Adding Outlets: Each 220v tool received a dedicated outlet, while the 110v circuits were divided to avoid overloading any single one. We installed multiple outlets at bench height for easy access.
Safety First
Electricity is not something to take lightly. While we did much of the planning and preparation ourselves, we worked closely with a professional electrician to ensure the installation met all safety standards and codes. This included installing proper breakers, grounding the system, and testing everything thoroughly.
The Results
The upgrade has completely transformed how we use our workshop. With the new sub-panel and dedicated circuits, we can run multiple tools simultaneously without worrying about tripping breakers. The 220v outlets power our heavy-duty tools with ease, while the strategically placed 110v outlets keep our workflow smooth and efficient.
Key Takeaways
Plan for the Future: If you’re upgrading your garage electric, consider not only your current needs but also potential future equipment.
Work with a Pro: While DIY is great, electrical work often requires expertise to ensure safety and compliance with local codes.
Stay Organized: Running wiring through conduit keeps your workshop tidy and protected.
Upgrading our garage electric wasn’t just a necessity—it was an investment in our woodworking passion. If you’re thinking about taking your workshop to the next level, this is one project that pays off in both safety and convenience.